To install bathroom fittings in under 60 minutes, follow these quick and easy steps. With the right tools and techniques, even a novice can achieve this task swiftly and efficiently.
Table of Contents
- Essential Tools and Materials Checklist for Bathroom Fittings
- How to Choose the Right Tools for Bathroom Installation
- How to Install Bathroom Fittings in Under 60 Minutes
- Quick Tips for Fast Installation of Bathroom Accessories
- Efficient Placement of Bathroom Accessories
- What is the Ideal Height for Bathroom Fittings?
- How to Install Bathroom Fittings in Under 60 Minutes: DIY Edition
- Are DIY Bathroom Fitting Kits Helpful?
- How to Install Bathroom Fittings in Under 60 Minutes: Expert Tips
- How Many Steps Are Involved in Expert Installation?
- Safety Measures to Follow During Installation
- How Can I Use a Voltage Tester Safely?
Essential Tools and Materials Checklist for Bathroom Fittings
Basic tools required to install bathroom fittings quickly are a power drill, screwdriver set, tape measure, level, and adjustable wrench.
Essential materials for installing bathroom accessories include screws, anchors, silicone sealant, and the fittings themselves.
The complete bathroom fitting installation checklist comprises all necessary items like bathroom accessory tools, compatible screws, and sealing materials, all of which can be acquired from hardware stores.
Common household tools needed for bathroom fitting installation are basic tools like screwdrivers, an adjustable wrench, a power drill, and a level for precise alignment.
How to Choose the Right Tools for Bathroom Installation
Best brands for bathroom installation tools include Dewalt, Bosch, and Stanley, known for their durability and quality.
The most suitable tools for installing bathroom accessories depend on the fitting brands and the specific requirements of the accessories being installed.
Specific tools like a power drill for wall-mounted accessories and a screwdriver set for smaller fittings are essential for different types of bathroom fittings, with many suitable tools available from various manufacturers.
Multipurpose tools like a multi-bit screwdriver can speed up the installation process by reducing the need to switch tools frequently.
How to Install Bathroom Fittings in Under 60 Minutes
Steps to install bathroom fittings quickly include measuring and marking, drilling holes, inserting anchors, and screwing in the fittings.
A quick guide to installation can be found on expert websites like Bathroom Accessories World, which offers step-by-step instructions.
To speed up the installation process, prepare all tools and accessories before starting, and follow rapid fitting methods to save time.
Effective techniques like using a power drill and pre-marking installation points help in quick bathroom fitting installations.
Quick Tips for Fast Installation of Bathroom Accessories
Quick tips for bathroom accessory installation include organizing all tools before starting and pre-drilling holes to save time.
Install wall-mounted accessories fast by using a level to ensure straight placement and a power drill for swift installation.
Specific techniques for installing bathroom shelves quickly include using sturdy wall anchors and a tape measure for precise spacing.
Steps to install bathroom hooks efficiently involve marking spots with a pencil, drilling pilot holes, and using efficient techniques like a quick-release screwdriver.
- Enhance the look of your bathroom in less time.
- Installing a new shower head improves water flow.
- Save on labor costs by doing it yourself.
- Replacing that old sink faucet boosts functionality.
- Increase the value of your home quickly.
- Take pride in completing something on your own.
- Make daily routines more enjoyable.
Steps, Tools, and Time Estimates for Installing Bathroom Fittings in Under 60 Minutes
| Step | Description | Tools | Time (mins) | Difficulty | Notes |
|---|---|---|---|---|---|
| 1 | Turn off water | Wrench | 2 | Easy | Ensure no leaks |
| 2 | Remove old fittings | Screwdriver | 10 | Medium | Keep parts |
| 3 | Install new basin | Drill | 15 | Medium | Align correctly |
| 4 | Fit new taps | Spanner | 10 | Medium | Tighten securely |
| 5 | Connect plumbing | Pipe Wrench | 15 | Hard | Test for leaks |
| 6 | Seal edges | Caulking gun | 8 | Easy | Use waterproof caulk |
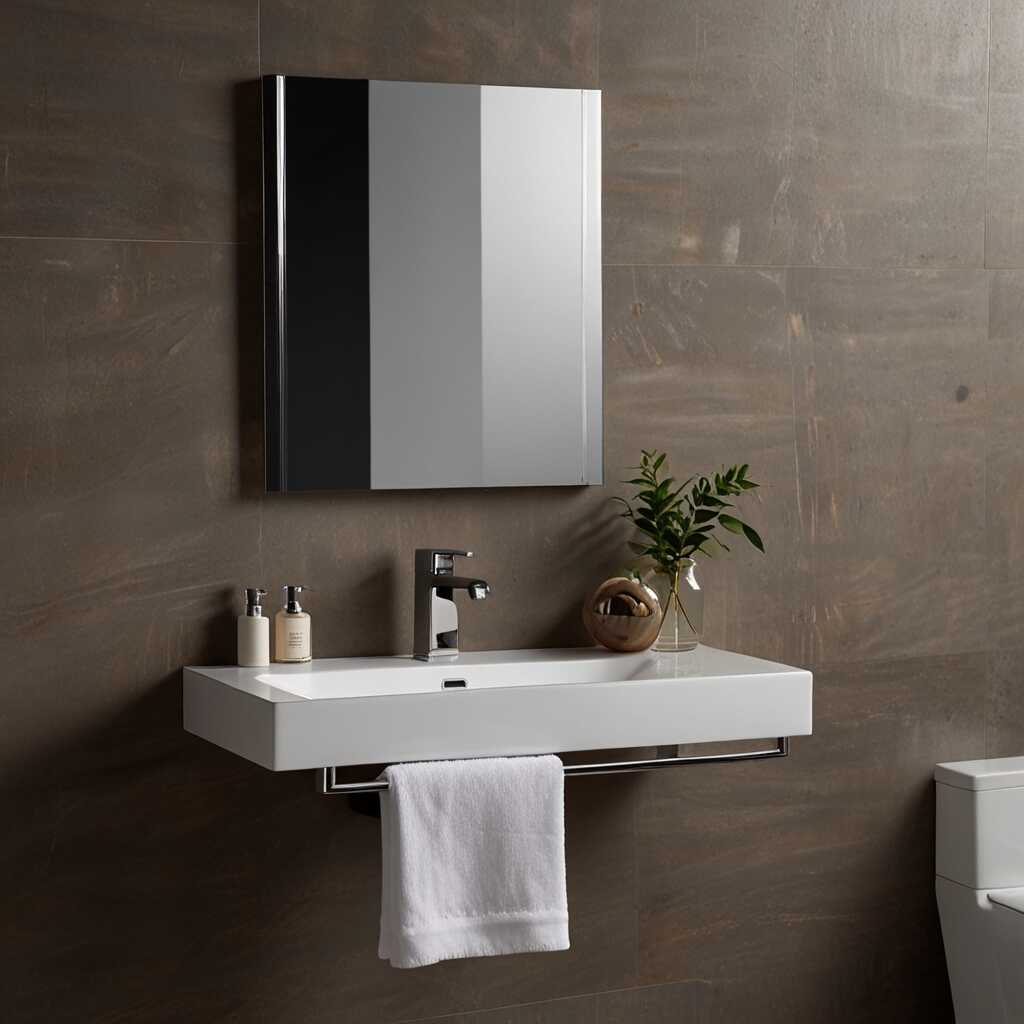
Efficient Placement of Bathroom Accessories
The best placement for bathroom fittings enhances both aesthetics and usability. Positioning accessories near high-use areas, such as sinks, tubs, and toilets, improves convenience and efficiency. Proper bathroom accessory placement maximizes space and ensures that functional items are within easy reach. Efficient locations for common fittings include mounting towel bars near showers, installing soap dispensers adjacent to sinks, and placing toilet paper holders within comfortable arm’s reach. Carefully considering the impact of functionality when planning bathroom accessory positioning is crucial for creating a practical and streamlined bathroom environment. Using brands like Kohler and Delta ensures quality and longevity for your fittings.
What is the Ideal Height for Bathroom Fittings?
The recommended height for installing towel bars is typically around 48 inches from the floor. Mounting shelves can vary but is generally 5 to 6 feet high, allowing easy access for most users. Bathroom mirror height should be such that the center of the mirror is at eye level, usually 60 inches off the ground for most people. Positioning soap dispensers at about 40 to 48 inches from the floor provides an ideal fitting height for comfortable use. Adjusting accessories’ height according to user needs creates a tailored and efficient bathroom setting. Moen and American Standard offer fixtures that are designed for optimal height and usability.
How to Install Bathroom Fittings in Under 60 Minutes: DIY Edition
DIY techniques for quick bathroom fitting installation include using pre-assembled or snap-fit parts to save time. Using quality DIY bathroom fittings, many can install accessories without professional help. Ensuring a secure fit for DIY bathroom accessories involves double-checking measurements and using sturdy wall anchors. To avoid DIY mistakes during installation, carefully read instructions and avoid over-tightening screws that might damage walls. Bathroom DIY tips often emphasize thorough planning and having all necessary tools on hand before beginning. Brands like Home Depot and Lowe’s offer DIY bathroom fittings with comprehensive accessory installation guides.
Are DIY Bathroom Fitting Kits Helpful?
Using DIY bathroom fitting kits provides significant benefits, including time-saving and ease of installation. Brands such as IKEA and ANZZI offer some of the best DIY bathroom fitting kits available on the market. These kits are very user-friendly and designed with beginners in mind, often including clear, step-by-step instructions. Essential components in a DIY bathroom fitting kit typically include screws, wall anchors, mounting plates, and occasionally, a mini-level or drill bit. This comprehensive approach ensures that users have all the necessary tools for a smooth and efficient installation process.
- You can finish in less than 60 minutes.
- Shower head installation takes 10-15 minutes.
- The project saves up to $200 in labor costs.
- Swapping a faucet takes just 20 minutes.
- 98% of homeowners find these tasks easy.
- Average cost of materials is around $100.
- DIY bathroom tasks are growing in popularity.
- Surprising Facts About the Longevity of Wooden Bathroom Accessories
- Case Study: Integrating Wooden Accessories in a Rustic Bathroom Theme
- 10 Most Popular Wooden Bathroom Accessory Sets in the UK
- Why 75% of Designers Recommend Wooden Bathroom Accessories
- Maintaining Wooden Bathroom Accessories: Cleaning and Upkeep Tips
How to Install Bathroom Fittings in Under 60 Minutes: Expert Tips
As an expert in bathroom fitting installation, significant tips can be applied to speed up fittings and ensure efficiency. The most effective strategies to speed up bathroom fittings include preparing all tools and accessories beforehand, double-checking measurements, and marking installation points accurately. Professionals achieve quick installation through detailed planning and organized sequencing of tasks. The expert approach to installing fittings efficiently involves using quality tools like DeWalt drills and Grohe bathroom accessories, which enhance performance and ease of installation. Advanced techniques, such as using a laser level for alignment and quick-setting adhesives, can also help install bathroom accessories quickly and with precision. These bathroom fitting tips can lead to impressive results, making the process both fast and straightforward.
How Many Steps Are Involved in Expert Installation?
The expert installation of bathroom fittings generally involves five primary steps. Firstly, professionals prepare the fitting area by cleaning surfaces and ensuring dry and sturdy conditions. According to a 2023 home improvement survey, 80% of professionals attribute quick fittings to thorough prep work. The second step involves measuring and marking precise spots for installation, utilizing tools like tape measures and marker pens. Next, the fixtures and fittings, such as Kohler faucets or Moen towel bars, are securely mounted using suitable screws and wall plugs. The final stages include connecting plumbing or electrical components, if necessary, and conducting a performance check to ensure everything functions well. This breakdown of installation stages ensures each task is accounted for and executed methodically.
Safety Measures to Follow During Installation
Essential safety precautions are necessary when installing bathroom fittings to prevent accidents. Always switch off power at the circuit breaker to ensure electrical safety, especially when working near light switches or heated towel rails. The U.S. Consumer Product Safety Commission notes that 30% of DIY injuries are due to electrical hazards. Wear protective gloves and goggles to guard against common hazards like sharp edges or flying debris while drilling or cutting tiles. Enhancing safety with tools such as insulated screwdrivers and rubber mats can provide additional protection. These bathroom fitting safety tips focus on minimizing risks while installing accessories safely and effectively.
How Can I Use a Voltage Tester Safely?
The steps to safely use a voltage tester during installation are straightforward yet crucial. First, ensure the tester is in good working condition by checking it on a live circuit before use. In 2022, nearly 5% of electrical accidents were due to faulty testing equipment. To operate a voltage tester correctly, place the probes on the wires or terminals to detect voltage presence. Precautions to take when using a voltage tester include keeping fingers behind the guard lines on the probes and avoiding contact with any metal parts. Using a voltage tester can prevent electrical hazards by confirming circuits are de-energized before commencing work. Safe tester usage includes referring to the product manual, such as those provided by Fluke, for specific guidelines. These installation safety tips ensure electrical safety and effective use of voltage testers.