Creating your own wooden bathroom accessories can be a rewarding and practical venture for any DIY home improvement enthusiast. This guide will walk through the process of selecting the right wood, essential tools, and expert tips to craft beautiful and durable bathroom accessories that add a personal touch to any space.
Table of Contents
- Choosing the Right Wood for Bathroom Projects
- Top 3 Moisture-Resistant Wood Types for Bathrooms
- Essential Tools and Equipment for Woodworking Projects
- Guide to Power Tools vs. Hand Tools for DIY Projects
- Design and Style Ideas for Wooden Bathroom Accessories
- What are the Most Popular Wooden Accessory Styles?
- DIY Guide: Preparing and Finishing Wooden Bathroom Accessories
- What Are the Best Finishes for Moisture Protection?
- DIY Guide: Assembling and Installing Wooden Bathroom Accessories
- How to Safely Install Wall-Mounted Wooden Accessories?
- Maintaining and Cleaning Wooden Bathroom Accessories
- How Frequently Should You Clean Wooden Accessories?
Choosing the Right Wood for Bathroom Projects
Picking the suitable wood types for bathroom accessories is crucial due to the high moisture levels in this space. Oak, cedar, and teak are among the most moisture-resistant wood types. These woods possess excellent durability against moisture. Eco-friendly wood options such as bamboo are increasingly popular for bathroom projects. Bamboo is both sustainable and sturdy. High-quality wood for DIY bathroom projects can be sourced from reputable suppliers like Home Depot and Lowes, ensuring the materials last long in moist environments.
Top 3 Moisture-Resistant Wood Types for Bathrooms
Teak wood characteristics make it ideal for bathroom use due to its natural oils that repel water. Bamboo vs hardwood comparisons show bamboo as a viable alternative, offering comparable durability and being environmentally friendly. Cedar wood maintenance involves regular sealing to maintain its moisture resistance in heavy-use areas. Oak bathroom fittings are considered a good choice due to oak’s natural strength and its impressive durability in moist conditions.
Essential Tools and Equipment for Woodworking Projects
DIY woodworking tools are necessary for successful project execution. Must-have tools include saws, sanders, and drills. According to Consumer Reports, safety equipment like gloves and goggles is also crucial. A power tools for woodworking kit can greatly speed up the project timeline. Affordable woodworking tools can be bought from online retailers such as Amazon and specialized stores like Rockler. Tool suppliers provide a range of essential woodworking equipment that ensures safe and efficient operation.
Guide to Power Tools vs. Hand Tools for DIY Projects
Power tools comparison shows they offer faster and more precise results when making wooden accessories. Top power tools include circular saws, electric drills, and orbital sanders. Hand tools sufficiency is often enough for small bathroom projects, offering excellent control and less noise. Beginners tool guides available online can help decide between power and hand tools based on project requirements, tool efficiency, and personal comfort with the tools.
- Saves money on home decor items.
- Allows customization of a soap dish.
- Encourages creativity and craftsmanship.
- Makes personalized toothbrush holders.
- Provides a sense of achievement.
- Reduces environmental waste by using wood.
- Offers unique, handmade items for your home.
Comparative Guide: Popular Wooden Bathroom Accessories DIY Projects
| Accessory | Difficulty | Time (hrs) | Cost ($) | Tools Required | Materials |
|---|---|---|---|---|---|
| Toothbrush Holder | Easy | 1 | 10 | Saw, Sandpaper | Pine Wood |
| Shower Caddy | Medium | 3 | 20 | Drill, Screws | Oak Wood |
| Soap Dish | Easy | 1 | 5 | Chisel, Sandpaper | Cedar Wood |
| Towel Rack | Medium | 2 | 15 | Hammer, Nails | Bamboo |
| Mirror Frame | Hard | 4 | 25 | Miter Saw | Maple Wood |
| Bath Mat | Hard | 3 | 30 | Stapler, Nails | Teak Wood |
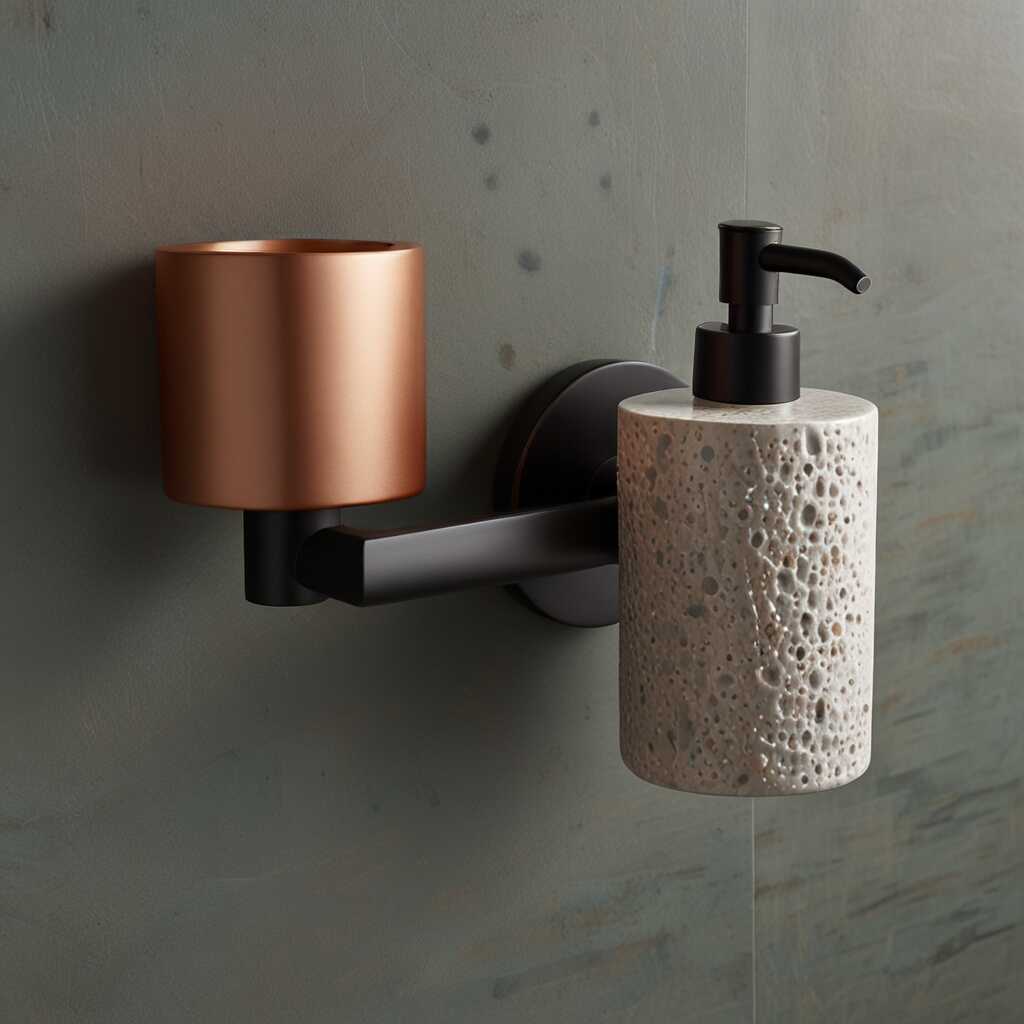
Design and Style Ideas for Wooden Bathroom Accessories
Choosing a design style for wooden bathroom accessories involves considering the overall aesthetics of your bathroom, aiming for a cohesive look that ties all elements together. One of the latest bathroom trends emphasizes natural and eco-friendly materials, making wood a popular choice for bathroom accessories. Customizing wooden accessories to fit your bathroom decor allows you to add unique touches like engraved patterns or specific stain colors. Some cost-effective design ideas include using reclaimed wood or DIY-ing simple designs like towel racks and soap holders with budget-friendly materials. The key to a great-looking bathroom is thoughtful design customization that aligns with your overall decor. High-quality accessories from brands like IKEA or Home Depot can offer further inspiration.
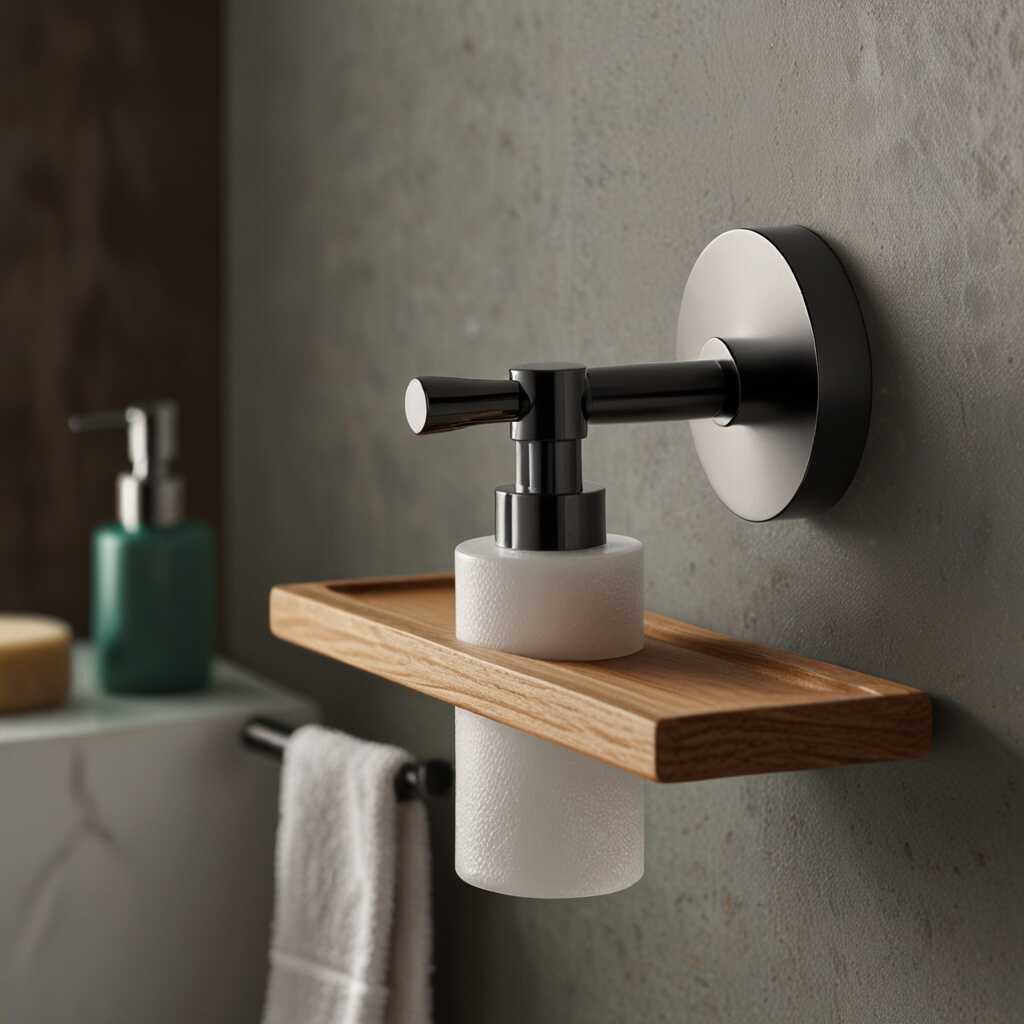
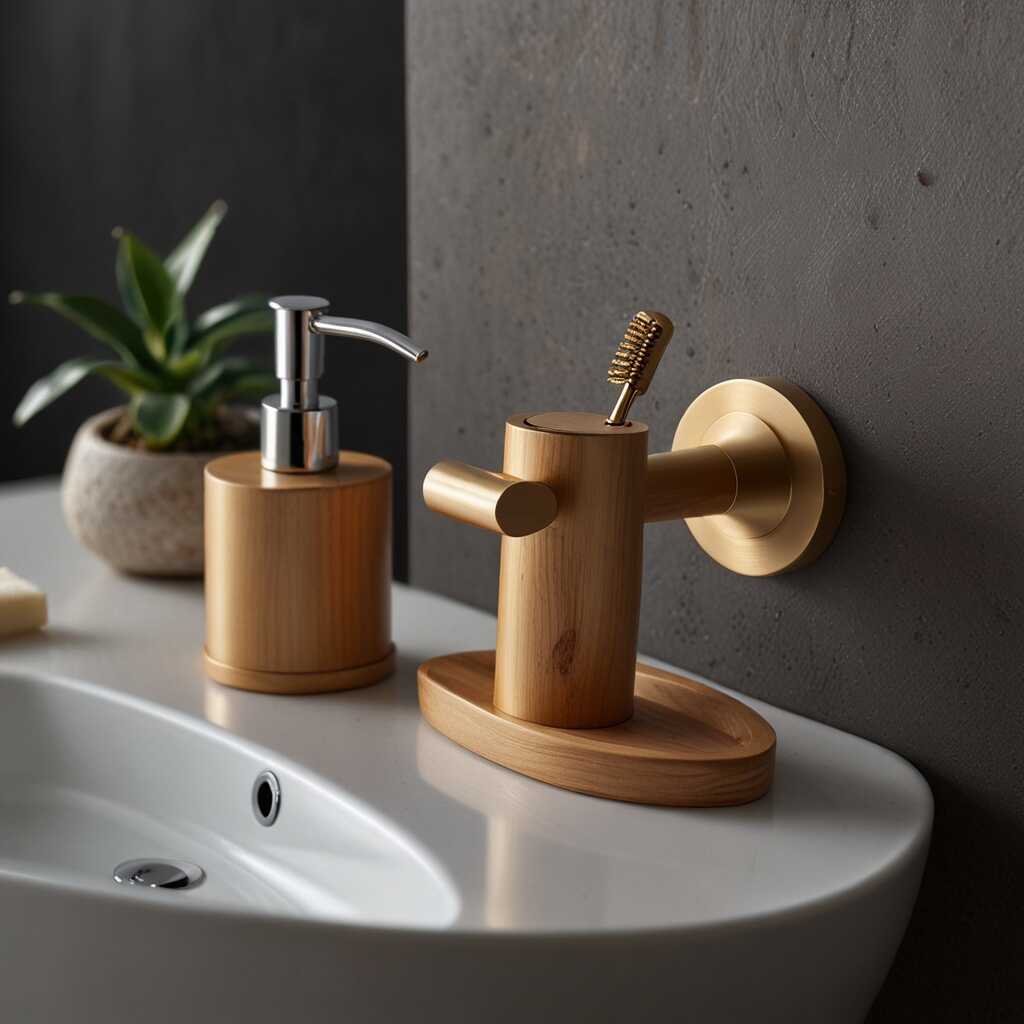
What are the Most Popular Wooden Accessory Styles?
Key characteristics of a rustic wooden accessory style include distressed finishes and metal accents that give a vintage feel. Contemporary bathroom style often features sleek lines and minimalistic shapes in wooden bathroom fittings, favoring neutral colors. Elements that define a minimalist wooden accessory include simplicity and functionality, often with hidden storage compartments. Mix vintage and modern styles effectively by balancing ornate vintage pieces like an antique wooden mirror with modern, minimalist fixtures. This blend creates a unique and harmonious bathroom decor fit for all tastes. Popular wooden designs from brands like Pottery Barn showcase these varied styles beautifully.
DIY Guide: Preparing and Finishing Wooden Bathroom Accessories
The steps involved in preparing wood for bathroom accessories include sanding the wood to smooth out any rough areas and applying a wood conditioner. Choosing the right finish for wooden bathroom items depends on factors like desired appearance and level of moisture protection; polyurethane is often recommended. The best sealing techniques for wood in humid environments include multiple coats of a high-quality, water-based sealant to ensure durability. Projects like these typically take about 24-48 hours to prepare and finish, depending on the drying times of the materials used. Consistent humidity protection is crucial, and this guide can help you navigate this process efficiently. Look to brands like Minwax for high-quality finishes that deliver impressive moisture protection.
What Are the Best Finishes for Moisture Protection?
Polyurethane finish offers advantages such as exceptional durability and robust moisture protection for wooden accessories. Tung oil, when compared to varnish, provides a natural finish with a smooth, hand-rubbed appearance that is also excellent for wood protection. Natural sealing options like beeswax or linseed oil are eco-friendly alternatives for sealing wooden bathroom items. Mixing different finishes can offer better protection; for instance, a base coat of tung oil followed by a polyurethane topcoat. The best wood finishes combine functionality and aesthetics for long-lasting results. Brands like Varathane and Watco offer top-rated finishes for comprehensive moisture protection.
- Takes around 2 hours to complete a project.
- Average cost of materials is $10.
- Wood can last up to 20 years with proper care.
- About 10 steps involved in making a towel rack.
- A small wooden project uses less than 1 square foot of wood.
- DIY wood projects reduce waste by at least 30%.
- More than 50% of people feel happier after completing a DIY task.
- Why Some Wooden Bathroom Accessories Are Not Eco-Friendly
- Wooden Bathroom Accessories vs Metal Bathroom Accessories: Pros and Cons
- How to Select the Best Wooden Bathroom Accessories for Your Space
- Case Study: Integrating Wooden Accessories in a Rustic Bathroom Theme
- Maintaining Wooden Bathroom Accessories: Cleaning and Upkeep Tips
DIY Guide: Assembling and Installing Wooden Bathroom Accessories
Properly assembling wooden bathroom fittings at home involves precise measurements and using quality materials. Key installation steps include measuring accurately, pre-drilling holes, and using the correct screws. With proper guidance, installing wooden items can be done without professional help. Complex projects might take longer, but most wooden accessories can be assembled and installed within a few hours. DIY installation tips highlight the importance of patience and using sturdy fasteners. Project time estimates can vary, but typically, assembling wooden accessories takes about 2-4 hours.
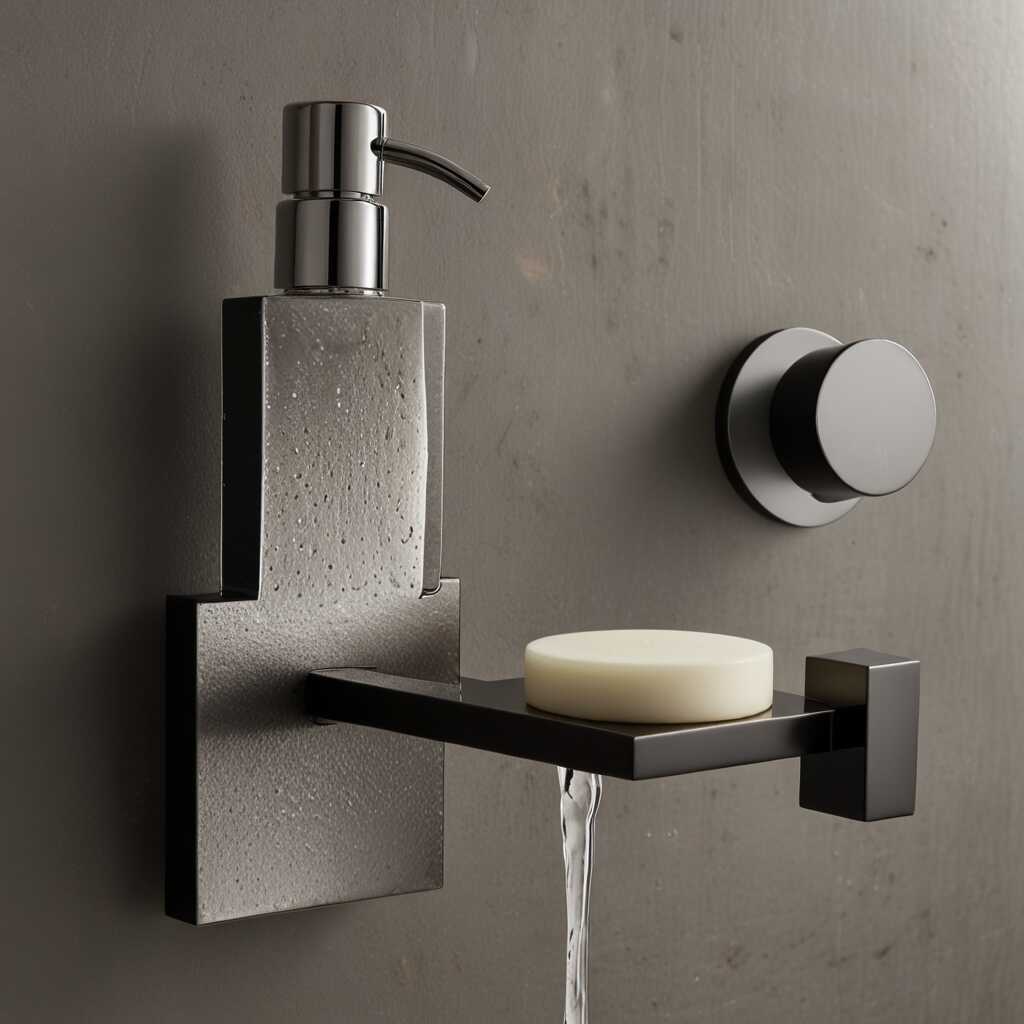
How to Safely Install Wall-Mounted Wooden Accessories?
Tools for wall installation include a drill, level, measuring tape, and screwdriver. Ensuring the stability of wall-mounted items requires solid anchors; considering bathroom walls are often tiled, it’s essential to use proper anchors. Specific screws and brackets recommended for bathroom walls are stainless steel or coated to prevent rust. Avoiding installation mistakes involves marking exact spots and double-checking measurements. Effective mounting techniques include using wall studs for added support. Safety tips for wall installation emphasize wearing safety glasses and gloves to prevent injuries.
Maintaining and Cleaning Wooden Bathroom Accessories
Best cleaning practices for wooden bathroom items involve gently wiping with a damp cloth. Wooden bathroom accessories should be maintained at least once a month to ensure longevity. Special cleaning products for wooden bathroom fittings include mild wood cleaners like Murphy’s Oil Soap. Improper maintenance risks include warping or cracking if wood is kept wet. Cleaning wooden items regularly with suitable products prolongs their life. Bathroom accessory care focuses on avoiding abrasive cleaners which can damage finishes. Wood maintenance tips include keeping accessories dry to prevent mold growth.
How Frequently Should You Clean Wooden Accessories?
The recommended cleaning schedule for wooden bathroom accessories is a weekly dust and monthly deep clean. Signs that indicate it’s time for a deep clean include dull finishes or visible dirt buildup. Daily maintenance practices help preserve wooden items, such as wiping off water splashes immediately. Over-cleaning risks include stripping the wood’s natural oils and damaging finishes. Frequency of cleaning varies, but keeping to a weekly schedule is generally advisable. Preserving wooden items involves using soft cloths and gentle cleaners. Cleaning best practices advocate avoiding soaking the wood in water.