Installing Kohler bathroom accessories yourself is a straightforward process that requires basic tools and a bit of patience. By following a few simple steps, anyone can enhance their bathroom experience without the need for a professional.
Table of Contents
- Necessary Tools and Materials for Installing Bathroom Accessories
- Understanding the Required Tools
- Step-by-Step Guide on Installing Kohler Bathroom Accessories
- Specific Steps for Installing Kohler Devonshire Accessories
- Installing Brushed Nickel Kohler Bathroom Fixtures
- Preventing Scratches on Brushed Nickel Finishes
- How to Install Kohler Bathroom Accessories in Small Spaces?
- What Are the Best Kohler Accessories for Tiny Bathrooms?
- Tips on Installing Kohler Faucets and Accessories Effortlessly
- How to Achieve Watertight Seals with Kohler Faucets
- Problems You Might Encounter Installing Kohler Bathroom Accessories
- What Are Typical Troubleshooting Steps for Kohler Faucet Installations?
Necessary Tools and Materials for Installing Bathroom Accessories
The essential tools needed to install Kohler bathroom accessories include a screwdriver, a level, a drill, and measuring tape. Specific materials such as the fasteners that come with Kohler accessories or equivalent, durable wall anchors ensure stability. Preparing the bathroom surface involves cleaning the area thoroughly to ensure proper adhesion and mark alignment points using a pencil. An installation tool kit designed for Kohler faucets is available and typically includes all necessary components, making the process more streamlined.
Understanding the Required Tools
Recommended tools for installing Kohler Forte accessories include a cordless drill, level, tape measure, and screwdriver. While standard screws can be used, specialized screws provided by Kohler are recommended for optimal fit and security. The selection of high-quality tools ensures the durability of Kohler accessories over time, which can last many years when properly installed. Avoid using tools that can damage the finish of the accessories or do not provide a precise fit.
Step-by-Step Guide on Installing Kohler Bathroom Accessories
The basic steps to install Kohler bathroom accessories include marking the position, drilling pilot holes, inserting anchors, and securing the accessories. Proper alignment of Kohler faucets can be ensured by using a level and continuously checking while tightening screws. Video tutorials are available on the official Kohler website and popular YouTube channels for step-by-step visual guidance. The installation duration typically ranges from 30 minutes to 1 hour, depending on the number of accessories being installed and the complexity of the setup.
Specific Steps for Installing Kohler Devonshire Accessories
Start installing Kohler Devonshire towel holders by marking the desired position and drilling holes for the mounting brackets. The dimensions of Kohler Devonshire accessories are available in the product manual, with lengths usually ranging from 18 to 24 inches. Secure fixtures to prevent wobbling by using appropriate wall anchors and tightly securing mounting screws. Kohler Devonshire products come with a limited lifetime warranty covering defects in material and craftsmanship, ensuring long-term durability and satisfaction.
- Easy to do by yourself
- Kohler accessories are durable
- Save money on professional help
- Kohler designs are stylish
- Boosts your bathroom’s look
- Upgrades often need simple tools
- Quick project for a weekend

Step-by-Step Comparison of Time and Tools Needed to Install Kohler Bathroom Accessories
| Step | Accessory | Tools | Time (Minutes) | Complexity | DIY Rating |
|---|---|---|---|---|---|
| 1 | Towel Bar | Drill, Level | 30 | Medium | 4/5 |
| 2 | Shower Rod | Screws, Anchors | 25 | Medium | 3/5 |
| 3 | Toilet Paper Holder | Drill, Screws | 20 | Low | 5/5 |
| 4 | Robe Hook | Level, Screws | 15 | Low | 5/5 |
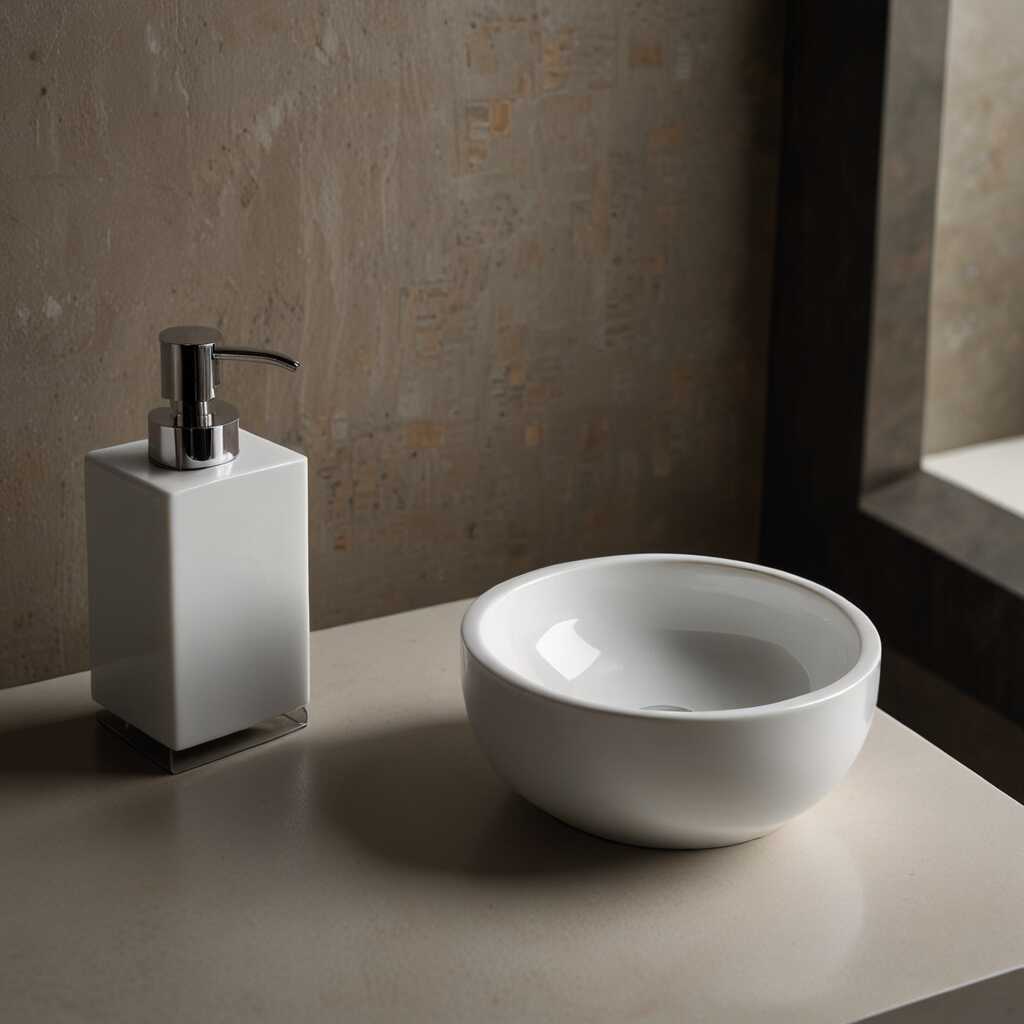
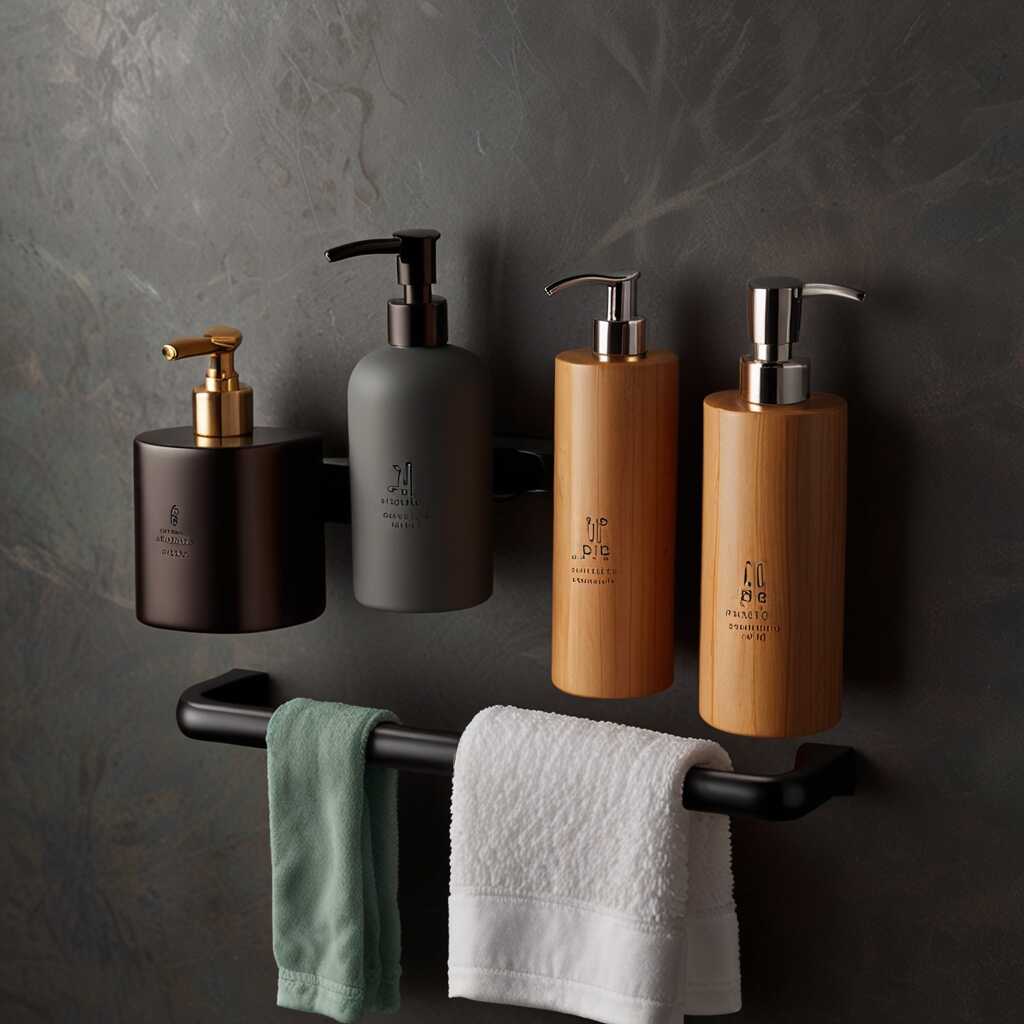
| 5 | Soap Dispenser | Drill, Screws | 20 | Medium | 4/5 |
| 6 | Mirror | Anchors, Screws | 40 | High | 2/5 |
Installing Brushed Nickel Kohler Bathroom Fixtures
The installation of brushed nickel bathroom accessories is quite similar to chrome accessories installation, but certain aspects like lighter scratching tendencies are unique. Brushed nickel benefits include its warm, timeless look, and high resistance to water spots compared to other finishes, like chrome. Maintaining fixtures made of brushed nickel requires specific cleaning agents and consideration to avoid damage. To minimize water spots on brushed nickel bathroom accessories, frequently wipe them dry after use and clean them weekly with gentle cleaners approved for Kohler faucets.
Preventing Scratches on Brushed Nickel Finishes
Cleaning agents that are safe for brushed nickel should be non-abrasive and free from harsh chemicals; use specific products like Flitz Polish. Clean brushed nickel bathroom accessories at least once weekly to prevent buildup that could cause scratches. Daily maintenance should include using a soft cloth to dry fixtures after each use and avoiding rough scrubbing to maintain durable finishes. Consider applying protective coatings such as wax or sealant to brushed nickel Kohler faucets to prolong their life and keep them looking new.
How to Install Kohler Bathroom Accessories in Small Spaces?
To plan bathroom space for Kohler accessories effectively, measure your area and use layout tools. Install Kohler faucets in a small bathroom strategically by choosing wall-mounted or corner fixtures to prevent crowding. Space-saving accessories, such as compact towel bars and soap dispensers, are suitable for compact bathrooms where every inch counts. Maintain a minimum distance of 18 inches between bathroom fixtures like sinks and toilets to ensure easy movement within small spaces.
What Are the Best Kohler Accessories for Tiny Bathrooms?
Small bathroom accessories designed by Kohler include compact vanities, mini towel bars, and wall-mounted mirrors and shelves. The dimensions of Kohler’s space-saving products are often smaller than standard fixtures, with vanities as narrow as 18 inches across. Maximize storage in a tiny bathroom using Kohler fixtures by opting for vertical storage solutions and multi-tiered shelving units. Multi-functional accessories, such as combined mirror and storage units, offer excellent utility in tiny bathrooms.
- Kohler products have warranties up to 5 years
- Tool kits needed can cost under $50
- Project often completed in around 2 hours
- Kohler models fit most standard bathrooms
- A typical homeowner saves $100 on installation fees
- Estimate 4 to 6 screws per accessory
- Up to 10 different parts might be included in a kit
Tips on Installing Kohler Faucets and Accessories Effortlessly
In my experience, the most common mistakes during Kohler faucet installations include not reading the instructions carefully and using the wrong tools. Aligning Kohler faucets perfectly on the first try involves measuring twice and drilling once, which ensures alignment. To ensure watertight seals for Kohler bathroom accessories, use quality sealants like silicone and check thoroughly for gaps. While I prefer DIY, professional installation might be better for complex fixtures due to the intricate plumbing work involved.
How to Achieve Watertight Seals with Kohler Faucets
Silicone sealing materials are best for Kohler faucets as they provide durable and long-lasting seals. Typically, sealants take 24 hours to cure properly for complete watertight performance. Different sealants are recommended for various Kohler models, so always check your model’s manual. To check for leaks after installing Kohler faucets, run water and inspect connections and joints closely for any dripping.
Problems You Might Encounter Installing Kohler Bathroom Accessories
The most common issues during installation include misaligned parts and fitting problems. To troubleshoot fitting issues with Kohler faucets, use plumber’s tape or adjust mounting screws for a snug fit. If Kohler accessories don’t align with pre-drilled holes, drilling new holes or using compatible adapters might solve the issue. Ensuring the longevity of installed Kohler bathroom fixtures requires regular maintenance and using high-quality cleaning products.
What Are Typical Troubleshooting Steps for Kohler Faucet Installations?
A Kohler faucet may leak immediately after installation due to improper sealing or loose connections, requiring tightening or resealing. To fix a loose Kohler faucet, secure mounting nuts or brackets properly to provide sturdy support. Kohler faucets might not fit mounting holes if those holes are incorrectly sized, necessitating drilling or using spacers. Prevent future issues with Kohler faucet installations by following the manual meticulously and conducting regular inspections.