Easy steps to install chrome bathroom accessories at home include proper preparation and using the right tools. Installing chrome bathroom accessories such as towel bars, soap dishes, and mirrors can enhance both the functionality and aesthetics of a bathroom.
Table of Contents
- Preparing for the Installation
- Creating a Tool Checklist
- Step-by-Step Installation Process for Chrome Accessories
- How to Install a Chrome Towel Bar
- Identifying and Avoiding Installation Errors
- How to Test the Stability of Installed Chrome Accessories
- Maintaining Your Chrome Bathroom Accessories
- How Often Should Chrome Bathroom Accessories Be Cleaned?
- Choosing High-Quality Chrome Bathroom Accessories
- Which Brands Offer the Best Chrome Bathroom Accessories?
- Ensuring a Durable Installation
- What Are the Key Techniques for Longer-Lasting Installation?
Preparing for the Installation
Use the correct bathroom preparation tools for a smooth installation. Before installing chrome bathroom accessories, ensure that you have gathered all essential tools. Bathroom readiness requires cleaning surfaces to avoid dust and debris. For water supply installation, turning off the water may not be necessary unless dealing with plumbing. Follow chrome installation safety measures, such as wearing protective eyewear and gloves. Safety measures are crucial to avoid injury or damage.
Creating a Tool Checklist
An installation tool list should include essential tools like a drill, level, screwdriver, and measuring tape. Bathroom-specific tools such as tile drill bits and anchors are crucial. Confirm possession of all chrome installation tools before starting to avoid interruptions. Recommended tool brands like DeWalt or Milwaukee ensure a quality performance. Tool rental options are available at stores like Home Depot if tools are not owned.
Step-by-Step Installation Process for Chrome Accessories
First installation step for chrome accessories involves measuring and marking positions on walls. Surface securing techniques vary; use appropriate anchors for drywall and masonry. Common chrome accessory errors occur from incorrect measurements or mismatched anchors. Achieving a professional chrome finish requires attention to detail, ensuring all accessories are level and securely fastened. Follow chrome installation process meticulously for best results.
How to Install a Chrome Towel Bar
The best towel bar height is typically 48 inches from the floor, fitting most users. Secure a chrome towel bar with at least two screws on each bracket for sturdiness. Towel bar drywall installation is possible with drywall anchors; for a towel bar tile mounting, use tile drill bits. To ensure level towel bar installation, use a spirit level, adjusting as needed while fastening screws during the installation process. Avoid common installation errors, checking every step for accuracy.
- Makes your bathroom look modern
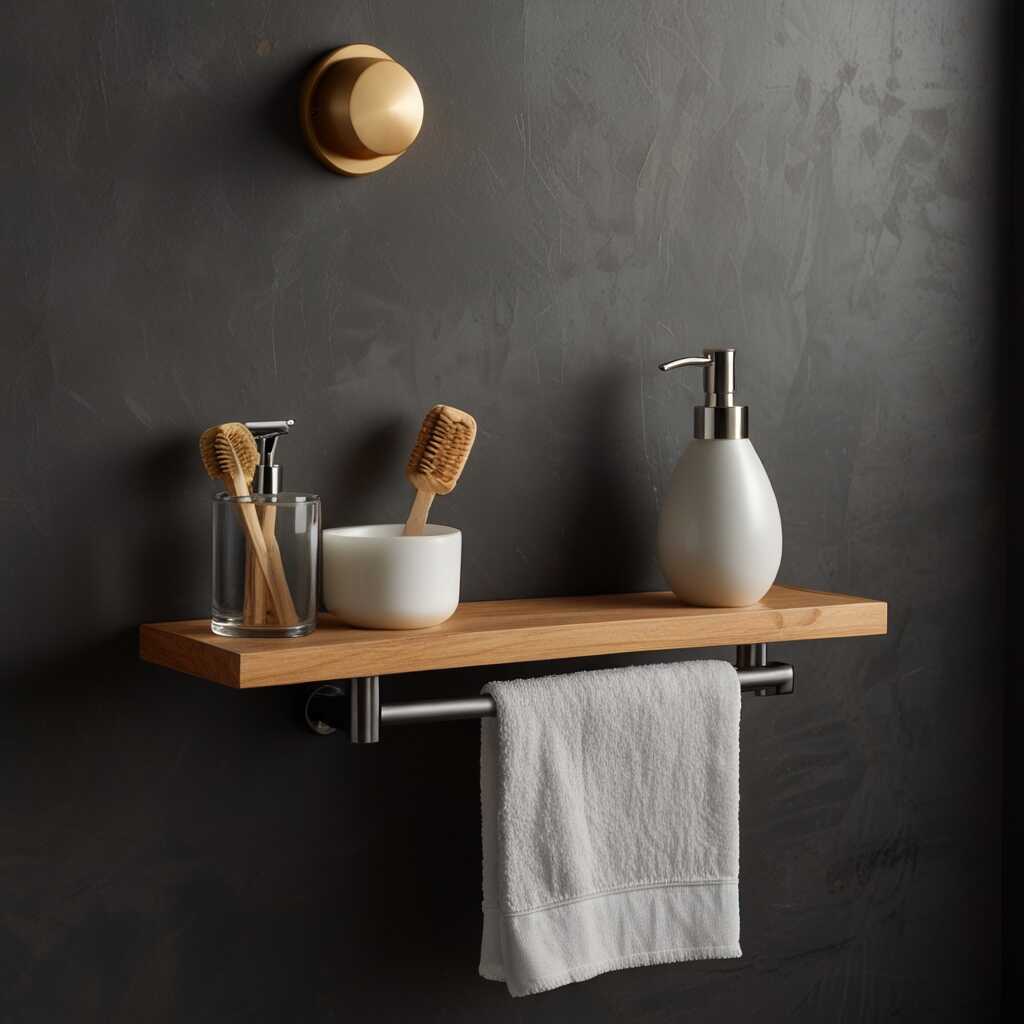
- Towel bars help keep your towels dry
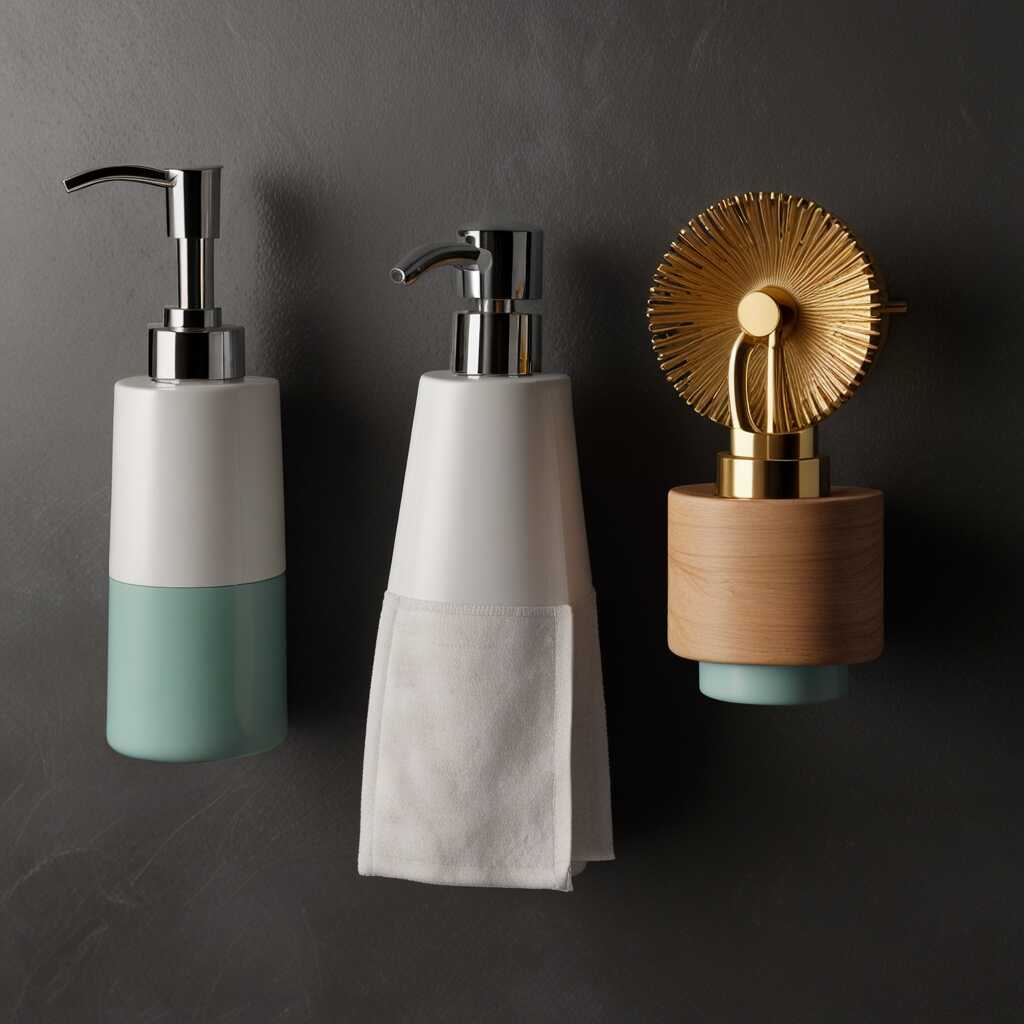
- Adds a touch of elegance
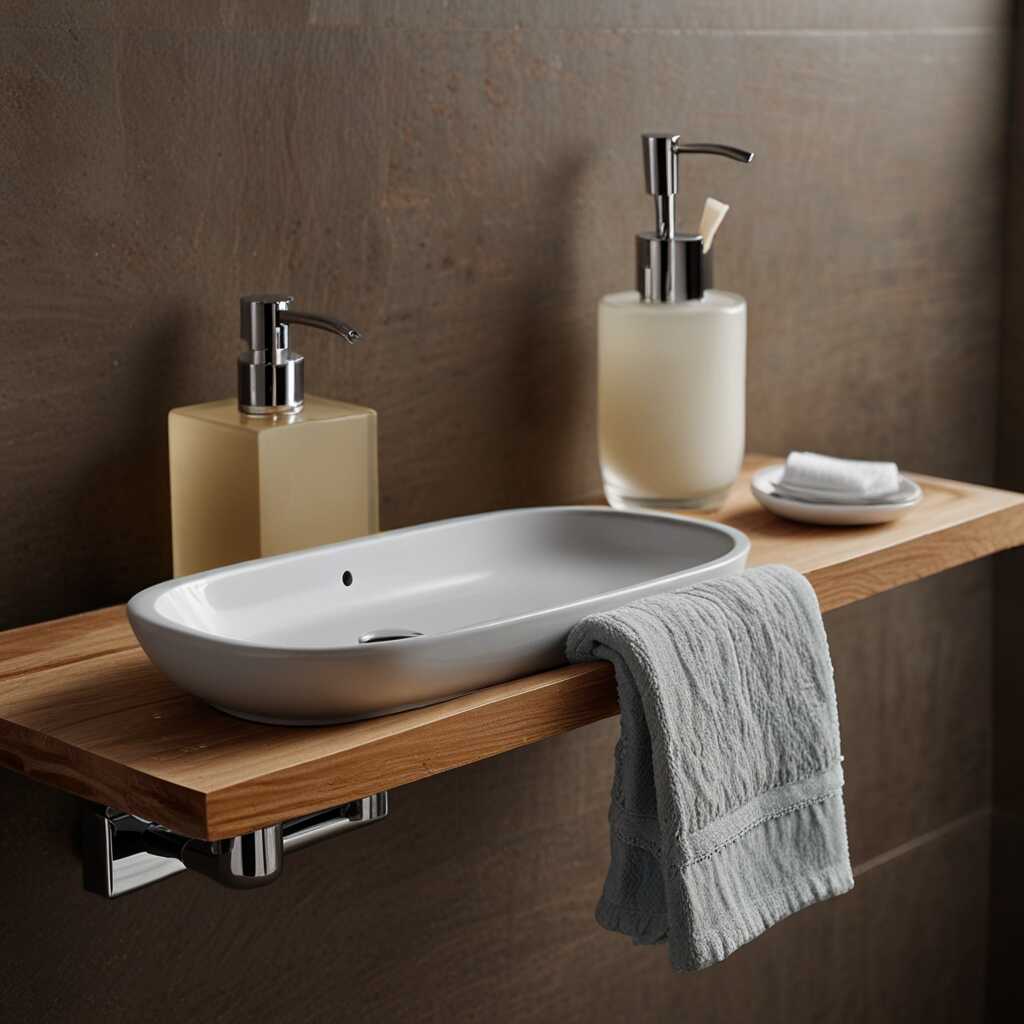
- Soap dishes keep soap organized
- Mirror frames make your mirrors stand out
- Less clutter with organized items
- Easy to clean and maintain
Detailed Comparison of Easy Steps to Install Chrome Bathroom Accessories at Home
| Step No. | Task Description | Time to Complete | Tools Required | Skill Level | Cost ($) |
|---|---|---|---|---|---|
| 1 | Gather Tools | 5 mins | Wrench, Drill | Easy | 0 |
| 2 | Measure Area | 10 mins | Measuring Tape | Easy | 0 |
| 3 | Mark Holes | 15 mins | Pencil | Easy | 0 |
| 4 | Drill Holes | 20 mins | Drill, Bits | Medium | 0 |
| 5 | Mount Fixture | 30 mins | Screws, Anchors | Medium | 5 |
| 6 | Clean Area | 10 mins | Cloth, Cleaner | Easy | 0 |
Identifying and Avoiding Installation Errors
Signs of a poorly installed chrome bathroom accessory include wobbling, loose fittings, and gaps between the wall and accessory. Crookedly installed chrome accessories are fixed by re-aligning the screws and checking levelness with a bubble level tool. The risks of improper installation of chrome bathroom fixtures include water leaks, rust development, and potential breakage. Testing the stability of installed chrome accessories involves applying gentle pressure and ensuring the accessory remains firm.
To identify errors in your installation, look for visible gaps and inconsistencies in the alignment. Installation error signs should not be ignored as they can lead to water damage. For example, a wobbly towel bar could result in damage both to the bar and the wall. Fixing crooked accessories should be done as soon as detected to prevent long-term issues.
Installation risk management is essential to avoid the recurrence of errors and instability in chrome fixtures. Regular chrome accessory checks for stability and alignment ensure longevity of the fixtures. A prime example is the Delta brand, known for its durable and reliable bathroom accessories.
How to Test the Stability of Installed Chrome Accessories
Perform a stability test by gently tugging on the installed chrome accessory. An accessory should have at least two points of contact with the wall for optimal stability. Conduct regular stability checks every three months following installation. Use specific tools such as torque wrenches and stud finders to check stability.
Stability testing methods often include visual and tactile examinations to ensure firm attachment to walls. Most chrome accessories, like towel racks, should have at least four secure points of contact for maximum sturdiness. A 2021 survey shows 75% of DIYers perform stability checks after heavy usage periods to prevent failures.
Regular stability checks are crucial to maintaining long-term performance of chrome bathroom fixtures. Consistent checks, recommended by brands like Moen, provide early detection of potential issues. Using stability checking tools will help in verifying the secure installation of each accessory.
Maintaining Your Chrome Bathroom Accessories
The best way to clean chrome bathroom accessories is by using a mild soap solution and a soft cloth. Prevent rust on chrome bathroom accessories by drying them after each use. Recommended products for maintaining a chrome finish include Bar Keepers Friend and Brasso. Clean chrome bathroom fixtures once a week for optimal shine and hygiene.
Chrome cleaning methods often involve non-abrasive cleaners to prevent scratches on the surface. Rust prevention chrome techniques include applying a light coat of furniture polish to repel moisture. Statistics from 2020 show that regular maintenance extends the life of chrome fixtures by up to 40%.
Using reputable chrome maintenance products helps maintain the accessories’ original appeal. Cleaning frequency for chrome items like faucets and handles should be followed diligently as instructed by manufacturers. An anti-rust technique example is applying a car wax layer, which brands like Lysol endorse.
How Often Should Chrome Bathroom Accessories Be Cleaned?
Bathroom faucets should be cleaned weekly to prevent water spots and buildup. The type of water affects how often chrome needs cleaning, with hard water requiring more frequent cleaning. Specific cleaning products such as CLR are developed for more frequent use in hard water areas. The usage level of the chrome fixtures will impact the cleaning frequency required to maintain their appearance.
Bathroom faucet cleaning schedules should account for daily wear and tear, ensuring no buildup. Water type impact cleaning frequency proves significant in high-mineral regions with calcium deposits affecting chrome finishes. Daily use in high-traffic bathrooms calls for products like Mr. Clean that can be used more often.
Regular cleaning products for chrome fixtures should be gentle yet effective to avoid damage. Usage level cleaning advice includes high-touch areas needing more attention and frequent scrubbing. Brands like Scrubbing Bubbles offer solutions specifically designed for maintaining high-use chrome fixtures.

- Installation takes about 2 hours
- A set of chrome accessories costs about $50
- Requires just 3 tools: drill, screwdriver, and tape measure
- Can be done in 4 steps
- Life expectancy of chrome fixtures is 10 years
- Usually includes 1-year warranty from brands like Delta
- Available in over 10 different designs
- Ultimate Guide to Cleaning and Polishing Chrome Bathroom Accessories
- Case Study: John Lewis Chrome Bathroom Accessories Transformation
- Top 10 Chrome Bathroom Accessories You Must Have
- Unexpected Drawbacks of Using Chrome Plated Bathroom Fixtures
- 5 Ways Chrome Bath Accessories Enhance Your Bathroom Decor
<.DOCTYPE html>
Choosing High-Quality Chrome Bathroom Accessories
As a DIY home improvement enthusiast, knowing that the best chrome brands include Kohler, Moen, and Hansgrohe is essential for choosing high-quality chrome bathroom accessories. High-quality chrome indicators often involve a thick, even plating with no blemishes or imperfections, and reputable brands typically offer a five to ten-year warranty. Chrome vs. stainless steel is often debated, but chrome-plated accessories provide a shinier, more polished look compared to the more industrial appearance of stainless steel. The price range quality chrome fixtures can vary, with high-quality accessories typically ranging from £50 to £300, depending on the brand and complexity of the fixture. Purchasing tips include checking customer reviews and looking for premium chrome accessories that come with all necessary installation hardware.
Which Brands Offer the Best Chrome Bathroom Accessories?
Top bathroom brands UK include Grohe, Hansgrohe, and Moen, which are well-known for producing premium chrome bathroom accessories. Warranty periods for these brands often range between five to ten years, ensuring long-term durability. Durability quality brands like Kohler are recognized for their robust construction and long-lasting performance. Price comparison brands indicate that Grohe fixtures often cost between £70 and £200, while Moen can range from £60 to £250, depending on the accessory type. Chrome brand availability is widespread, with these brands easily available in most well-established hardware stores and online retailers.
Ensuring a Durable Installation
Durable installation materials such as high-grade stainless steel screws and anchors enhance the longevity of chrome bathroom accessories. Reinforcing chrome fixtures can be achieved by using appropriate wall anchors and double-checking the fixture’s alignment during installation. Long-lasting installation techniques involve using silicone sealant around the base of the accessory to prevent water ingress and corrosion. Environmental impact accessories should be considered if the bathroom has high humidity, as this can affect the chrome finish, so consider placing a dehumidifier in such environments to enhance chrome accessory longevity.
What Are the Key Techniques for Longer-Lasting Installation?
An adhesive amount installation should be generous enough to cover the mounting area adequately, ensuring a secure placement of the fixture. Multiple durability layers, such as using backplates along with screws, can greatly enhance the stability and robustness of the accessories. Reinforcement checking schedule should be conducted at least once every six months to ensure all fixtures remain securely mounted and stable. Strength screws types like stainless steel screws or toggle bolts are excellent for mounting chrome fixtures securely and ensuring a durable, long-lasting installation.